Setting Up WordPress on a VPS
December 4, 2015
This post goes over how to setup Wordpress on a VPS. This is sort-of a cumulative post which incorporates lots of little tutorials I’ve done and lots of new best-practices I have learned through trial and error. If you’re following my posts in general, you may have noticed that I already did this. I made a mistake while using a beta tool which caused me to need to start over, and my many posts documenting the processes had become fragmented so I figured it was time to do a sort of roll-up mega-post.
Step One: Build LAMP Stack
The first step is to create a VPS. I use DigitalOcean (Referral Link for two months free) because it is cheap, reliable, and easy to use. It takes less than a minute to create a VPS and there are lots of OS options. In this case I chose the most current version of Debian, Version 8.6 amd64. Once the vm is set up, we need to connect via SSH. I am using Windows 10, so I will be using putty which is a great, free option. Once you setup a VPS, DigitalOcean will send you an email with your ip and credentials. Use those to log in via SSH. Right out of the box, we need to make sure everything is up to date on the new machine; apt-get update && apt-get upgradeThe first thing I like to do is install fail2ban so that I know no one can bruteforce my SSH password. apt-get install -y fail2banEasy enough. The next step is to install Apache. apt-get install -y apache2Now install and configure MySQL. Make sure to pick a good password and only allow connections from localhost when it asks. apt-get -y install mysql-servermysql_secure_installationNext we install PHP apt-get -y install php5 php-pear php5-mysqlAs well as a few add-ons that our tools will need; apt-get install php5-mcryptphp5enmod mcrypta2enmod rewriteapt-get install php5-curlIf you are planning on using any MSSQL connections, use this; apt-get install freetds-common freetds-bin unixodbc php5-sybaseRestart Apache to make everything take effect… service apache2 restartNow create a test page by opening a new file in the web root: nano /var/www/info.phpAdd the following code and Ctrl-X to exit. <?php echo phpinfo(); ?>If you see something like this, we are done setting up the LAMP stack and ready to move on… 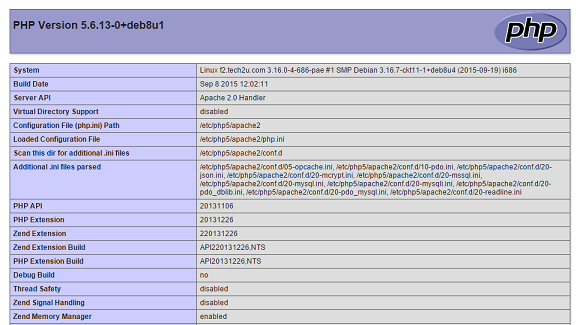 ## Step Two: Setup Email
Postfix is a great, free option that enables the server to send emails reliably. The first step is to block non-local requests to send emails. iptables -A INPUT -i eth0 -j REJECT -p tcp --dport 25Then install Postfix and associated tools: apt-get -y install postfixapt-get -y install mailutilsNow edit the config files and change the interface to loopback-only like so; nano /etc/postfix/main.cfFind this line; inet_interfaces = And change to; inet_interfaces = 127.0.0.1Now edit the email aliases; nano /etc/aliasesAt the end of the file, make sure there is a line that starts with root and ends with your email, like so; root email@domain.comSave the file and exit. Then run newaliases to let Postfix apply the changes. Restarting Postfix is not enough because we changed the interfaces line in the config file. We need to stop and start it like so; postfix stoppostfix start## Step Three: Create New VirtualHost
First lets create a new directory for our install. Substitute your fqdn; mkdir /var/www/[fqdn]/Now we make a new virtualhost conf file with this command. Again, substitute your fqdn; cp /etc/apache2/sites-available/000-default.conf /etc/apache2/sites-available/[fqdn].confThen edit the file with nano /etc/apache2/sites-available/[fqdn].confIt needs to contain the following; ```
<VirtualHost *:80>
ServerName [fqdn]
ServerAdmin your_email@website.com
DocumentRoot /var/www/[fqdn]/

ErrorLog ${APACHE_LOG_DIR}/error.log
CustomLog ${APACHE_LOG_DIR}/access.log combined
</VirtualHost> ```
Activate the new virtualhost with a2ensite [fqdn]Restart apache with service apache2 restart## Step Four: Setup Wordpress
Download the latest version of Wordpress from their website. Then upload the files to the appropriate directory which we created above. Then we need to change the ownership and permissions of the directory; chown www-data:www-data /var/www/ -Rchmod 775 /var/www/ -RNavigate to the web url, and you will be guided through the setup process to get wordpress connected to the database we setup earlier.