Installing Virtualbox and Debian on Windows 10
October 4, 2015
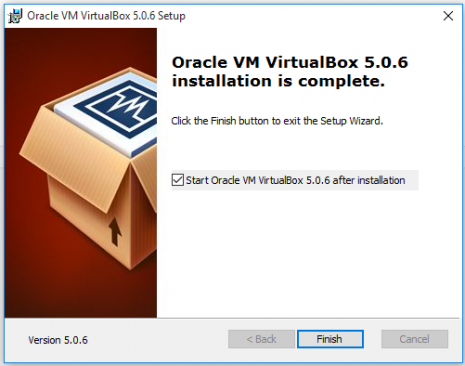
This post is part of a larger series about Building a Cloud at Home For Free as part of building scalable web applications from the ground up. This post starts at the very beginning of setting up the servers. It assumes you are familiar with the game plan from the previous post mentioned above. Once we are done with this post, we will be ready to move on to Setting up a Debian LAMP Server! We will start by setting up our hypervisor. I have chosen to use the free hypervisor Virtualbox which will host the virtual servers we setup. The first step is to download the installer from Oracle’s Virtualbox website. https://www.virtualbox.org/wiki/DownloadsNext we install Virtualbox. I am using a Windows 10 host. This machine has an i7 processor with lots of RAM and an SSD so it should be more than capable of handling the workload we will be giving it today and in the foreseeable future. In my case, I said yes to every prompt during installation and used all the default settings while setting up Virtualbox.
[](http://blog.cjtrowbridge.com/wp-content/uploads/2015/10/virtualbox_install_done.png)
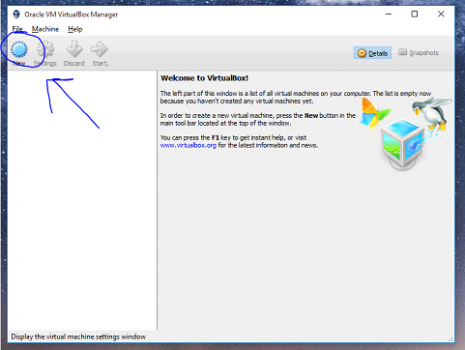
Now that Virtualbox is installed, we need to download the installation media for the operating system we will be using. I like Debian Linux because it is fast, stable and widely supported; so I will be setting these servers up with Debian 8, the latest version at the moment. Since we are running an i7 CPU and Windows 10 on the host machine, I could use the 64 bit version of Debian Linux as long as the host computer’s motherboard and chipset support the necessary virtualization features required by Virtualbox, but I have found that the 32 bit version is usually more stable with Virtualbox, less difficult to setup and use, and easier to find software for. Grab the free installation ISO file from the Debian website here; (Hint: Only the first ISO is necessary, though there are lots of other ones listed. These contain optional features which we will not need. Debian will automatically get any files we need directly from their servers after we setup the base operating system, a process which requires only the first disc!) http://cdimage.debian.org/debian-cd/8.2.0/i386/iso-cd/While that is downloading, let’s setup our first Virtual Machine. Start by clicking “New” once Virtualbox opens up.
[](http://blog.cjtrowbridge.com/wp-content/uploads/2015/10/1.png)For 32 bit Debian Linux, it is pretty self-explanatory; we will be using the following settings to create our virtual servers; [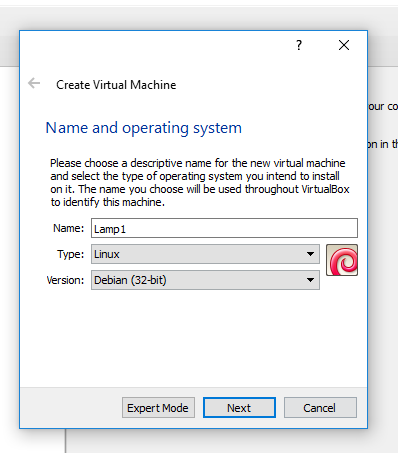](http://blog.cjtrowbridge.com/wp-content/uploads/2015/10/virtualbox_2_settings.png)During the next few steps, the only thing I changed from the Default option was to increase the amount of RAM allocated to the server. Web applications running lots of threads can be hungry for resources! I decided to go with 2gb instead of the default 768mb. Then click next on all the prompts until you are back at the main screen and your first virtual server is waiting for you. Now we need to change the way that Virtualbox’s networking operates by default. With your machine highlighted, click settings and then networking. Change the “Attached to” field from “NAT” to “Bridged.” This will make your server accessible to other computers within the local network. [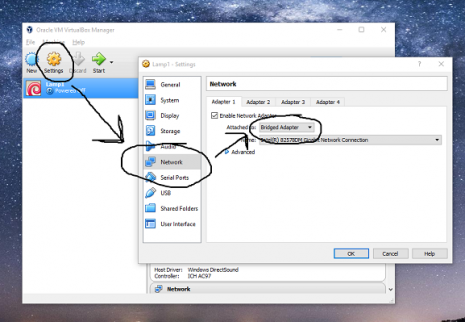](http://blog.cjtrowbridge.com/wp-content/uploads/2015/10/virtualbox_3_settings.png)Now we need to put our Debian ISO into the virtual CD drive. Click on “Storage” on the left menu and then select the CD drive listed under “Controller: IDE.” Next click the CD icon to the far right of the menu. This will drop down a menu where we select “Choose Virtual Optical Disc File…” Now we navigate to the Debian ISO we downloaded. Click ok and the virtual disc is now in your virtual server! ## Installing Debian
Ok! So here we are booting into the Debian installation disc for the first time;
[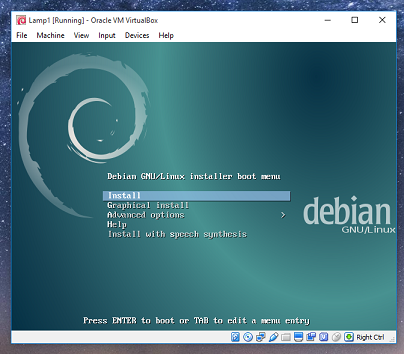](http://blog.cjtrowbridge.com/wp-content/uploads/2015/10/debian_install_1.png)Most of this is pretty self-explanatory. Choose a language, timezone, keyboard layout, etc… It goes just like any OS install. I used the hostname lamp1 as part of my larger plan and roadmap for the project. I am forwarding a subdomain from my website to the server cluster, so I used that domain (projects.cjtrowbridge.com) but this step can be skipped if you do not intend to setup a publicly accessible server. And this can easily be changed later. Next setup your root password. This is the main administrative password for the “root” user account. Choose a strong password because this account has access to everything! Then comes your user account. This is the account you will use to log into the machine whenever you may need to. Timezone is critical to many important technologies as well as to web application frameworks working correctly. You’d be surprised how many times mistakes here will create issues. Now comes partitioning. I recommend using the recommended setting of “Guided - Use Entire Disc” and then selecting just one single partition. Then it will ask you if you are sure. The default option is no, but go ahead and choose yes. The installer will ask if you want to scan another disc. Select No, it is unnecessary. Then select Yes to using a network mirror and go with the default options. It will download any necessary files which may take a few minutes. Here is the tricky part. It asks what you want the installer to setup for you. I recommend selecting ONLY “SSH Server” and “Standard System Utilities” from this menu. [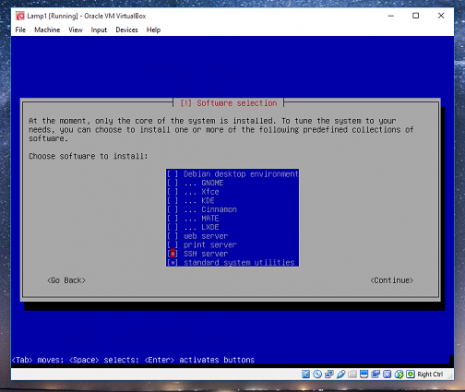](http://blog.cjtrowbridge.com/wp-content/uploads/2015/10/debian_install_2.png)Lastly, it will ask you about the boot loader. You want to install the GRUB boot-loader just like normal. Then it will ask where, there will only be two options. /dev/sda or else enter a location manually. Choose the /dev/sda option and click continue! Your shiny new Debian install should reboot and be ready to move on to setting it up as a server! Now we are ready to move on to Setting up a Debian LAMP Server!